.
.This feature allows you to view action items in a Calendar display not associated with MS Outlook. You will be able to select that actions you would like to view based on day, week or month. The actions can even be color-coded for easier viewing. The Calendar requires .NET Framework v3.5.
To set up the Calendar for the first time align yourself to any debtor account. The first load of the calendar takes awhile.
1.
On the top menu bar select .
2. The calendar will take a few moments to load.
3.
Select ![]() .
.
4.
Select the Actions that you would like to have displayed on
the Calendar. This can be done by selecting the checkbox to
the left of each action. By default, no
actions are set to display on the calendar. If you want to select all Actions
use the ![]() button.
button.
5.
Select ![]() .
.
6.
Select the User codes that you would like to have displayed
on the Calendar. By default, the setting are set not to display any user codes.
If you want to select
all user codes click the ![]() button.
button.
7.
Select ![]() .
.
8. Select the checkbox below if you want to only display the actions that you selected for your calendar.
![]()
9. Select your settings for the Auto Refresh Data . This allows your calendar to refresh automatically based on your setting.
![]()
JST HINT: If you set your Auto Refresh Data to “0” it will never
refresh. This calendar is not printable. If you need an image create a screenshot.
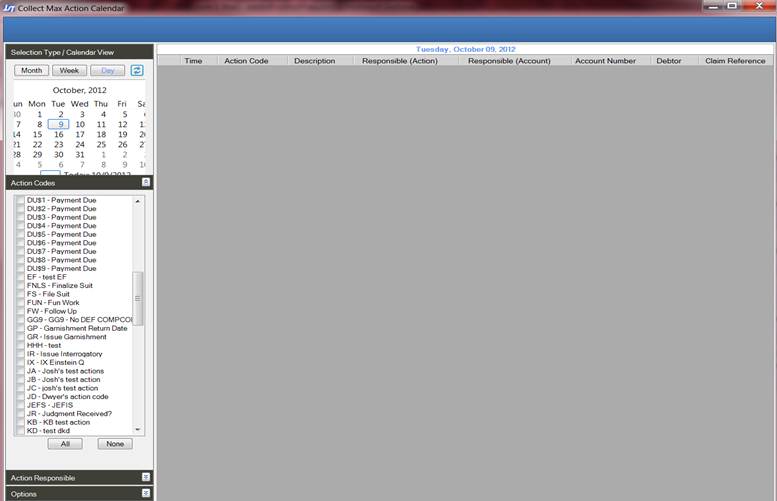
A main benefit of this calendar is that it has a break away screen. This allows you to simultaneously work in CollectMax and have your calendar running all at the same time. The calendar has 3 different display modes Month, Week, and Day.
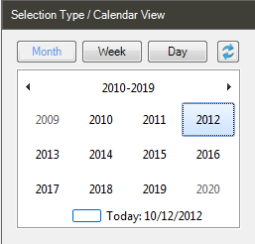
1. Select your Month and Day in the window listed below.

2. When you click on the day. Click the refresh ![]() button.
button.
3. This will display all the items for that day on the Calendar.
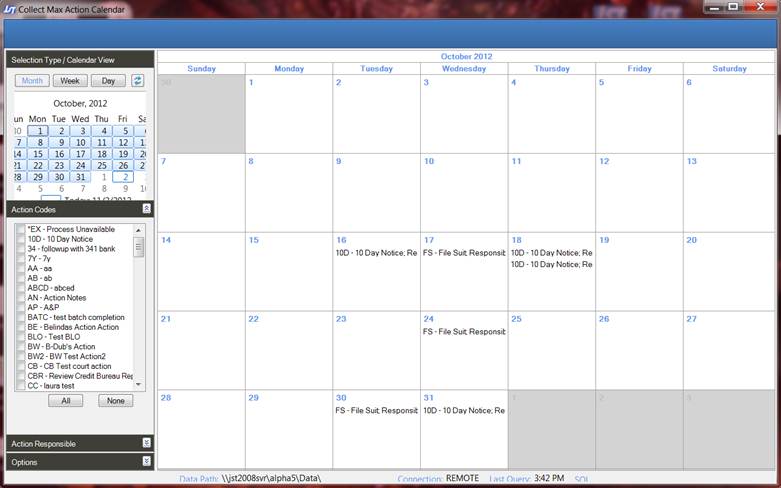
4. Then select the action that you want to work on the Calendar. Then double-click the item. This will take you straight to the account that the action associated with it.


5. Continue to work the account as needed.
JST Hints: